Turn on paint templates
Choose Layered and turn on Water paint templates in Fabrication settings, then regenerate terrain. For every panel with water that stays visible once the stack is glued, TopoStack writes a paper stencil registered to that panel. Mask the land with it and spray the water, and the paint lands exactly where the lake will show. Water outlines are fetched for the templates even when Water outlines and Water depth are off.
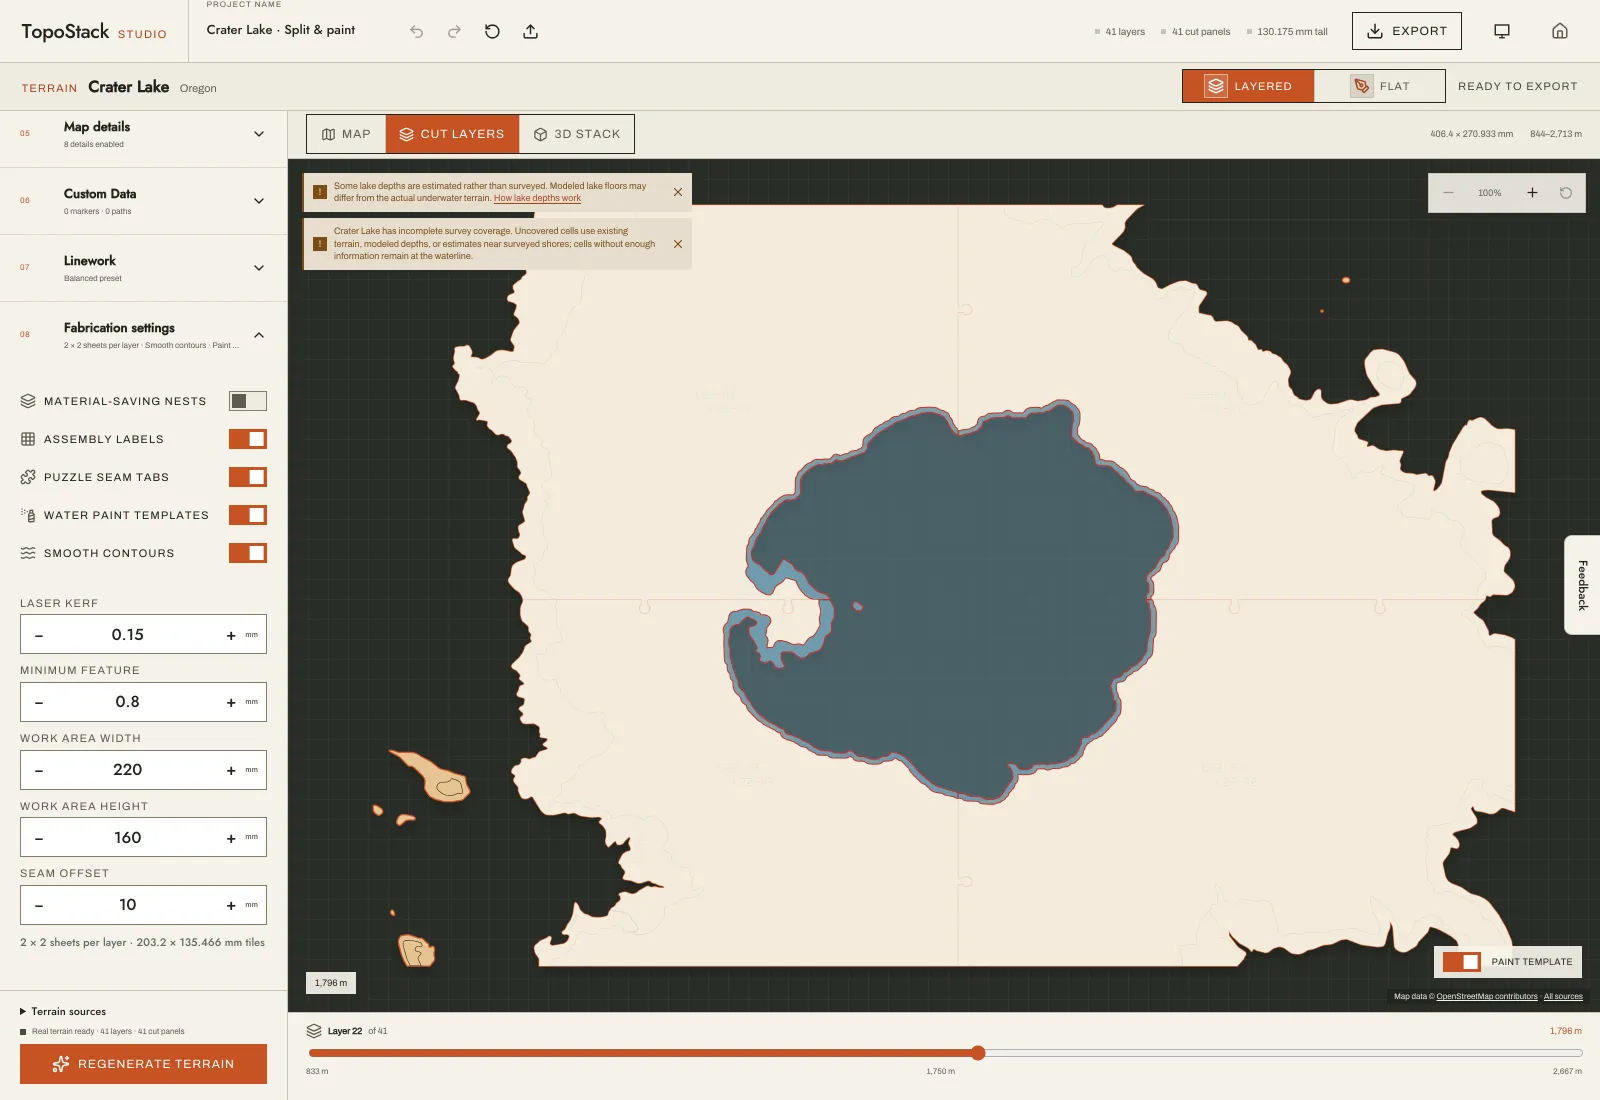
Preview a stencil
In the Cut layers view, use the Paint template switch in the lower right corner to lay the stencil over the current layer. Step through the layers with the slider: each one has its own window, including the deeper steps of a lake basin. On a layer with no visible water the switch reads No paint template on this layer.
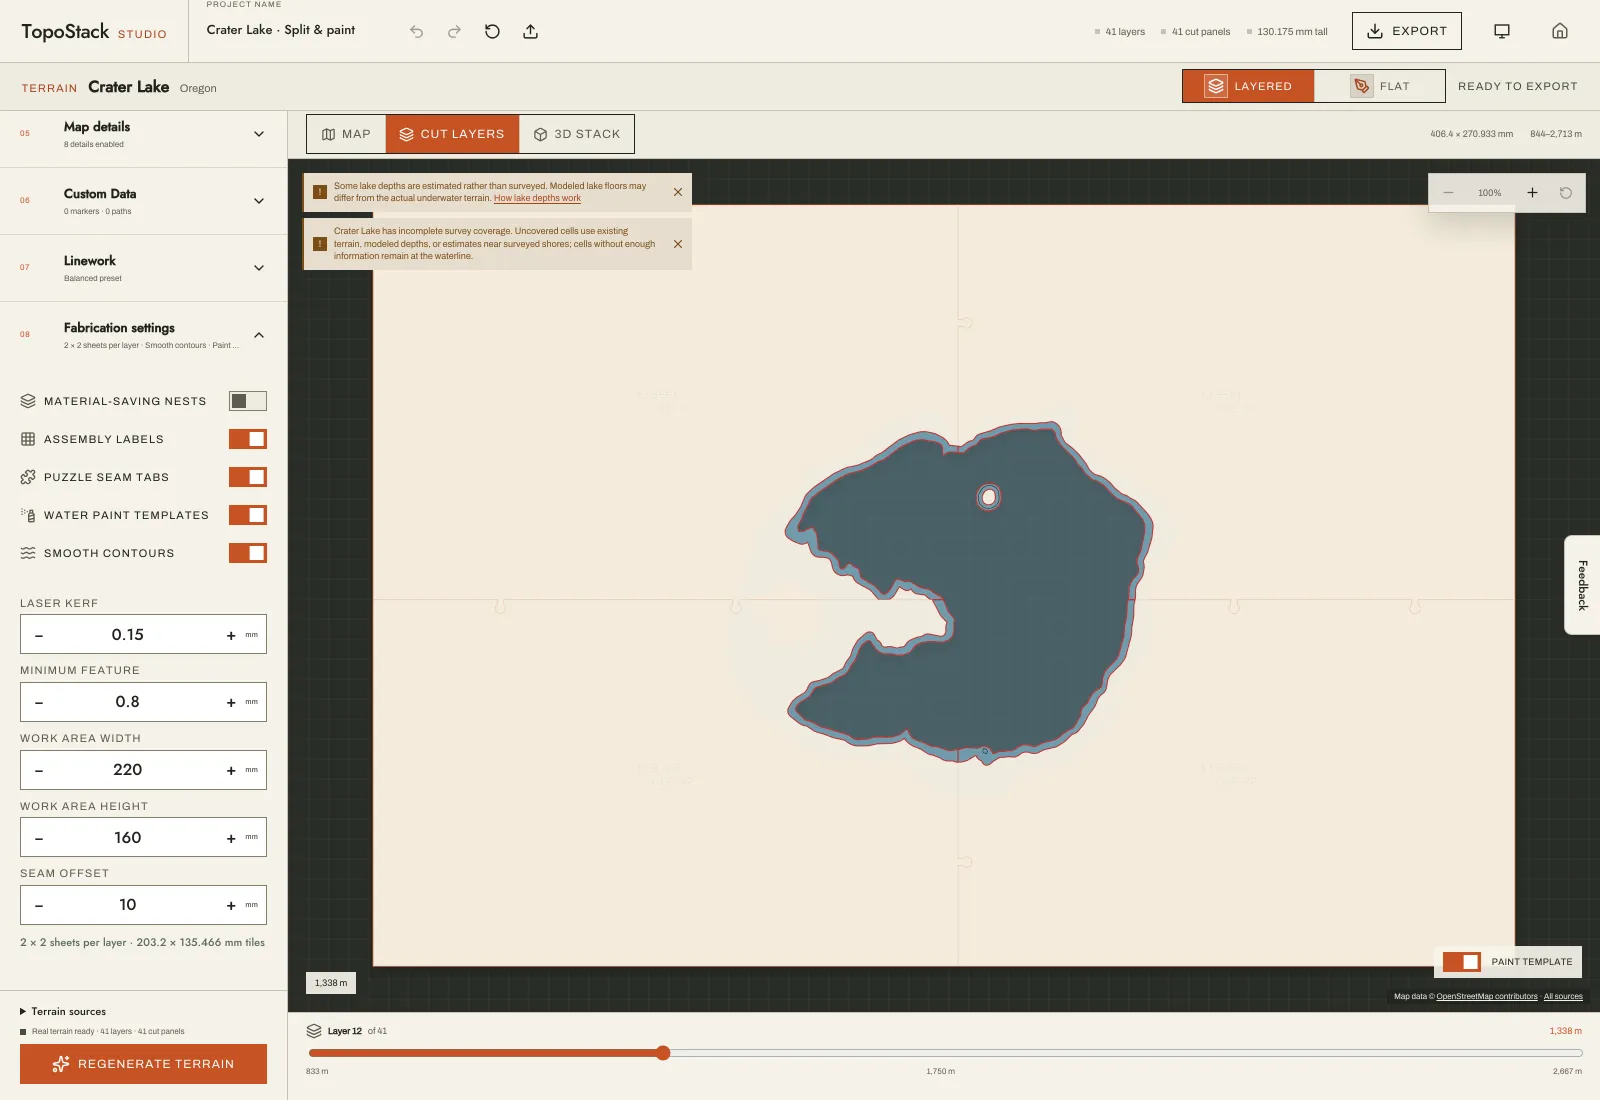
What the stencil covers
- Each stencil is the cut piece at its nominal size with the visible water cut away, as one outline. The window reaches 1.5 mm under the layer above, so a slightly misplaced stencil leaves no bare edge at the foot of the step. Where water meets the piece edge the stencil stops short of that edge, so register it on the edges and tabs it keeps; a piece painted edge to edge needs no stencil and gets none.
- Where water meets the edge of the piece, the stencil stops short of that edge. Line it up on the edges and puzzle tabs it keeps.
- Paper strips narrower than the Minimum feature are opened up rather than left as fragile bridges.
Export and use the stencils
Choose Paint templates in Export for the stencils alone, or Complete project for everything. Each stencil is named after its panel with -paint-water added, such as my-map-layer-03-b2-paint-water.svg, and shares the panel's canvas, so the two line up when imported together.
- Cut the stencils from paper or stencil film. Every stencil path is a red cut. Turn off kerf compensation in your laser software for these files: the stencil must match the piece at its nominal size.
- Lay each stencil flush on its cut piece, registering on the outer edges and tabs.
- Spray the water and remove the stencil before gluing.
- The 1.5 mm bleed lands on glue area that the next layer covers. If the paint film there is thick, wipe or lightly sand it so the layer above sits flat.
With a split map
When a work area splits the layers, each piece that shows water gets its own stencil, named after its cell. Register it on the piece's puzzle tabs as well as its outer edges.
Check before you cut
Cut one stencil and test it on a scrap of your material and paint before committing the whole stack. Kerf compensation must be off for the stencil files.
Related guides
Follow the layered map guide for the full workflow, read how lake depths work for the layers a lake floor becomes, and see export files for every file name.